Photoshop Tutorial: Pastel Edit in Grid Background
8/10/2016

First of all you need to decide on the dimension. Is it a photoset? What type? Here is a helpful guide for tumblr photoset sizes, use these exact numbers or tumblr will resize your pictures and ruin the quality.

I'll be making a 540px edit so let's start with a blank file.

Use the Paint Bucket Tool (G) to paint the background whatever color you want. I chose a pastel pink.

Create a new layer (Ctrl+Shift+N) so we can add the grid pattern! Click here to download my collection of grid patterns. Once you have downloaded it, it's time to install. Go to Edit>Fill... (or press Shift+F5), change the 'Contents' to Pattern.

It will give you the option to choose your custom pattern. Click the little arrow to choose, then click the tiny gear with an arrow and click Load Patterns. Now find the file you just downloaded and the grids will be loaded.
They come in black and white (you can color them with the paint bucket) and in different sizes.

Pick one, hit OK and your file should look like this.

Now find the pictures you want to put on this grid, try to choose one with a background that is easy to remove.

Once you have chosen the picture, double-click the Background layer and hit ok to unlock it.
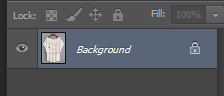 will turn into
Now get the Magic Wand Tool (W) and select the background to delete it all at once if possible. If you can't remove the entire background with the wand, just get the Eraser Tool (E) and slowly delete it.

You have a transparent background! Now select (Ctrl+A), copy and paste this onto your grid pattern. If it's too big you can resize it with the Move Tool (V). Don't forget to keep this option selected as you resize it.

It looks like this now:

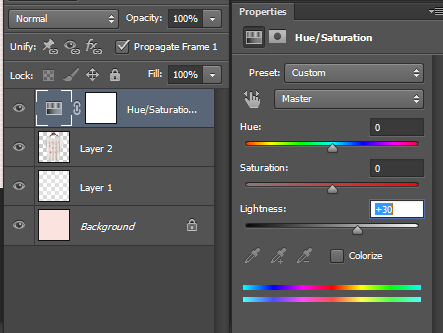
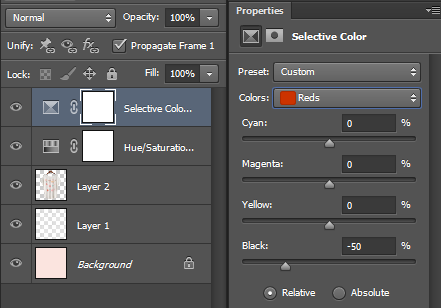
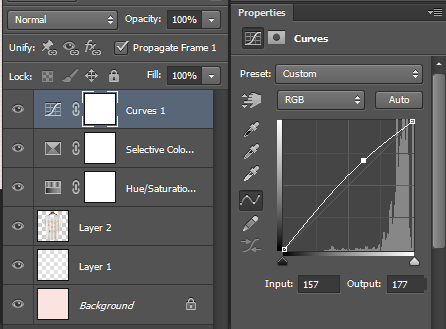
To edit, simply click this button and play around with any of the settings:

Here are some of the changes I like to make:
PRO TIP: You can save these settings as a PSD file and every time you edit a new picture you can just drag it into your new picture instead of doing it all again. You can also download PSDs made by other people and just adjust it however you want! Here is one I use all the time.
Merge all layers (Ctrl+Shift+E) and now it's time to sharpen your edit! This step is optional but I think sharpening makes your final edit look more polished.

Mess with the settings and repeat this process as many times as you want!

You can also use pre-made sharpening Actions. Here are some I use all the time. Once you download the .ATN file, find your Actions window (Alt+F9) and load your actions.

Now pick one of the Actions you just loaded and click the Play button  on the bottom. Here's a clear example of the difference sharpening makes:
on the bottom. Here's a clear example of the difference sharpening makes:
I used Action 03 twice for this.
Now you just have to save your edit as .PNG and post that masterpiece! This is my finished result:

You can add as many pictures as you want, change the colors, settings, anything! Just remember to use high quality pictures and the correct dimensions. Happy editing ♥

0 comments